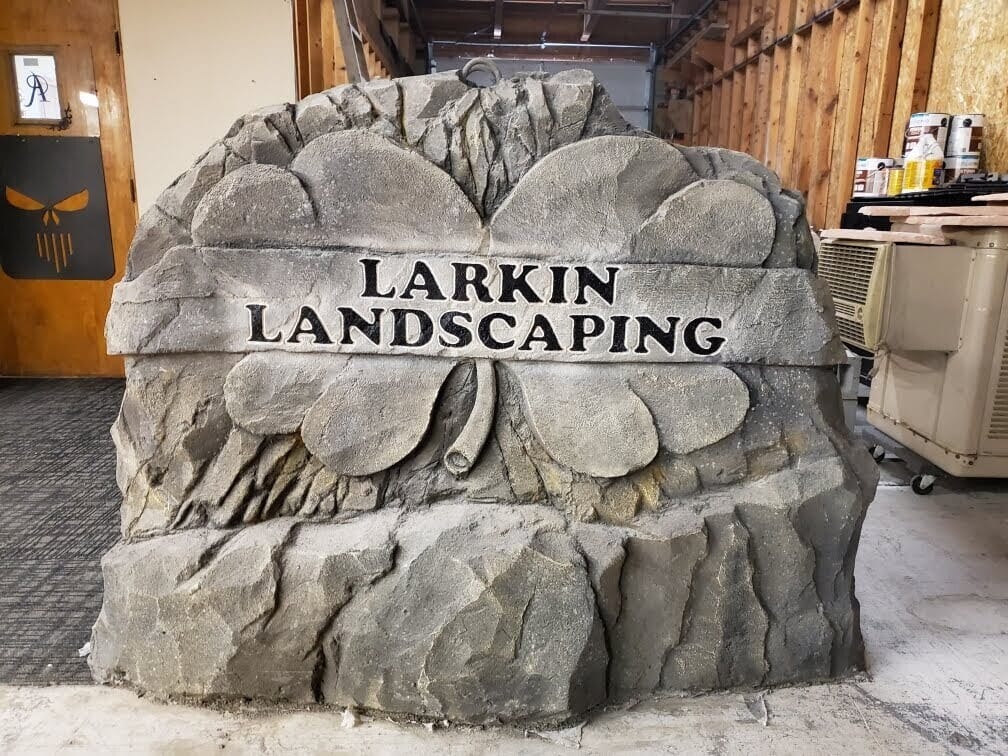
Build A Business With The First Portable CNC Engraver

Boulder Fabrication and Epoxy

Concrete Engraving Machine – CNC Pro

BOULDER FABRICATION

... and Epoxy

Boulder fabrication can be a valuable service for businesses, municipalities, schools, and other organizations interested in commemorating donors or contributors, or for beautifying public spaces.

This tutorial provides a comprehensive guide on how to create a stunning and distinctive boulder using the CNC Pro. It includes important steps such as material selection, boulder design, shaping, carving, engraving, and finishing. By following these essential steps, you can create a one-of-a-kind boulder that will make a lasting impression on any space.

List of supplies is located below

Mixing Concrete

To achieve the correct consistency for your concrete mix, use a 1:2 ratio of Portland cement to sand. This means that you should use two parts sand for every one part Portland cement, BY WEIGHT. If you’re adding coloring to the mix, first add the coloring to 1-2 gallons of water before adding the concrete. This helps to evenly distribute the pigment into the mixture. Next, add the sand, and finally the Portland cement, in the proper ratios, mixing as you go. The mixture should have a consistency similar to oatmeal.

Tip: Create An Anchor Point

Larger boulders (which cannot be moved with a hand-truck) may require some internal framing to give the structure additional strength.  You may also integrate a hook or other bearing-plate-style anchor with an eye-hook for transportation. Note: Click the red links for product details.

Tip: Framing and Texture Mat​

Using a 2’x8′ frame is ideal for creating the width of the boulder once it is upright. Optionally, you may want to line the inside of the frame with thin plastic to reduce the risk of leaks and messes. Additionally, placing a texture mat that’s at least 3′ in diameter below the frame can create a 360-degree natural finish on the boulder.

Tip: Texture Roller​

To achieve the correct consistency for your concrete mix, use a 1:2 ratio of Portland cement to sand. This means that you should use two parts sand for every one part Portland cement, BY WEIGHT. If you’re adding coloring to the mix, first add the coloring to 1-2 gallons of water before adding the concrete. This helps to evenly distribute the pigment into the mixture. Next, add the sand, and finally the Portland cement, in the proper ratios, mixing as you go. The mixture should have a consistency similar to oatmeal.

Tip: Shaping the Boulder

With the help of one or two trowels, you can shape and form your boulder into the desired form. However, keep in mind that you will later engrave it. Therefore, it’s important to keep the engraving surface as flat and level as possible to ensure that the final product looks its best.

Tip: Painting the Boulder

Jon Vilhauer, owner of Red Art Technologies CNC Pro, along with Versatile Coating LLC, showcases their process for fabricating and engraving custom paver stones.

Tip: Epoxy Application​

Before applying epoxy, it’s important to seal the pores in the concrete to reduce gassing that occurs during curing. When applying the epoxy, always underfill the pockets and use a mixing stick or chopstick (for smaller pockets) to spread the epoxy, as it may expand and run over the project. It’s also essential not to mix more epoxy than you need. To reduce and prevent bleed-over when applying paint or epoxy, using masking tape is an effective method.

Tip: Use Masking Tape​

If you struggle with unsteady hands, masking tape is an excellent way to reduce and prevent bleed-over when applying epoxy and paint into inlays. In the picture, you can see Henry Ashworth applying epoxy to a large inlay. Remember to remove the tape while the epoxy is still sticky or the paint is still wet. See materials below.

Tip: Removing Bubbles

For the correct consistency of your concrete mix, use a 1:2 ratio of Portland cement to sand, which means two parts sand for every one part Portland cement BY WEIGHT. If you plan to add coloring to the mix, add it to 1-2 gallons of water before adding the concrete to help evenly distribute the pigment into the mixture. Next, add the sand and finally, the Portland cement in the proper ratios, mixing as you go. The mixture should have a consistency similar to oatmeal.

Supplies

If the below links are broken, please let us know.

Texture Mat

There are a variety of textures available when creating a boulder. This mat is 3 feet wide.
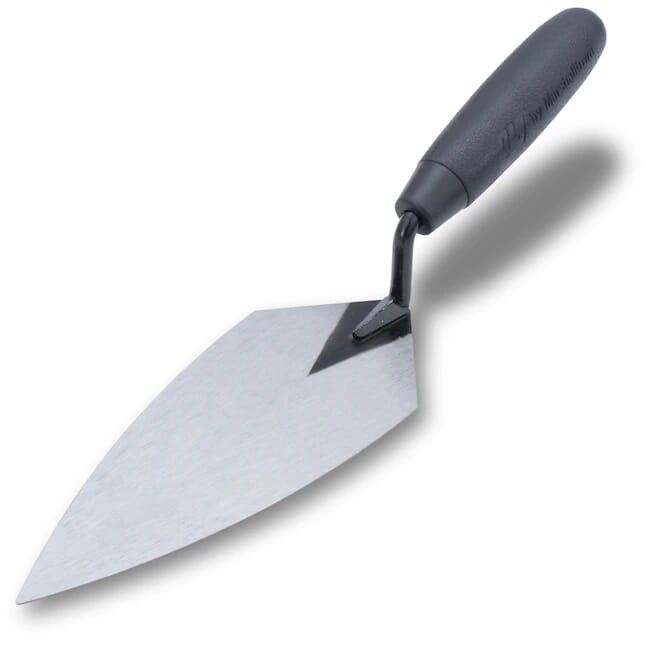
Trowels

Two trowels are needed to accomplish some of the cracking and cutting effects on the boulder surface.
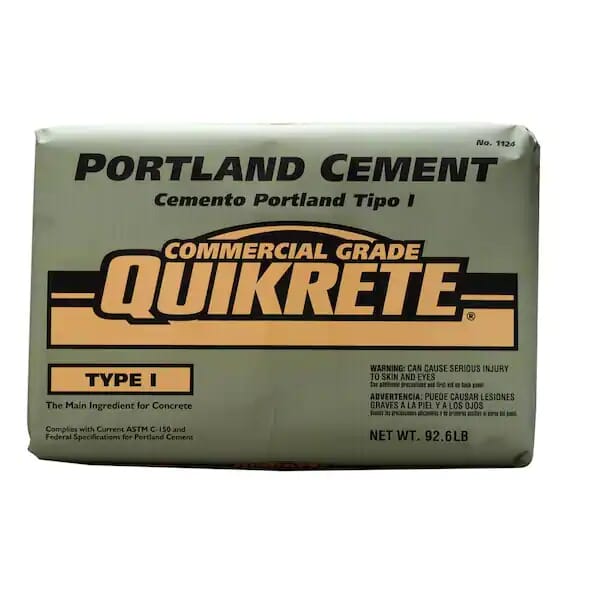
Type I/II Portland

This is to be used in conjuction with sand in a two parts sand to one part portland (by weight).

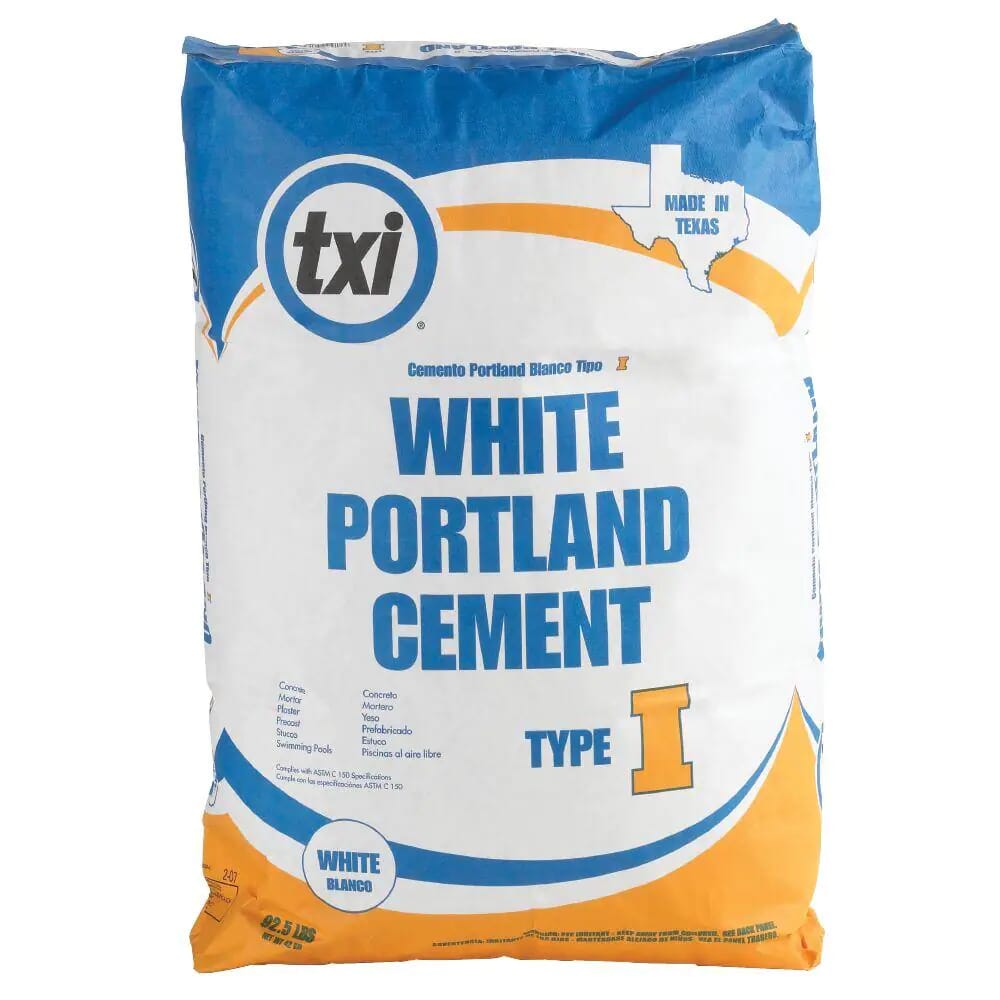
White Portland Type I/II

White colored or bleached portland is preferable to gray in some cases where a lighter color is needed.
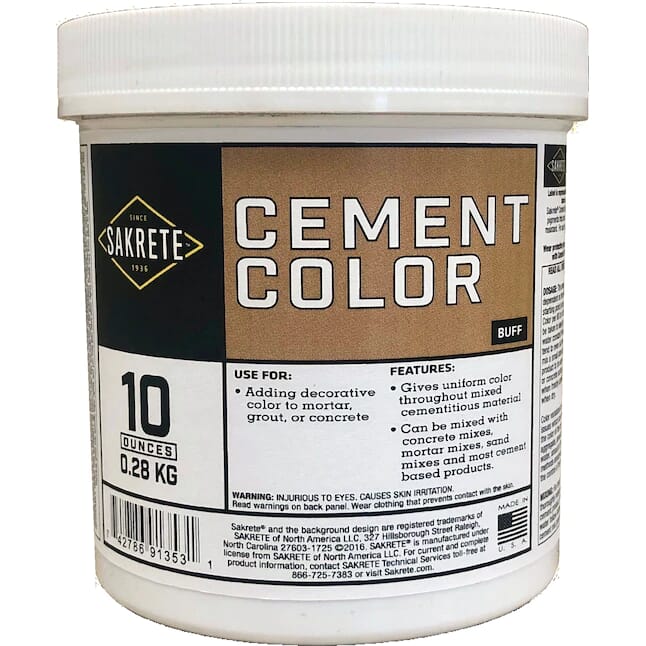
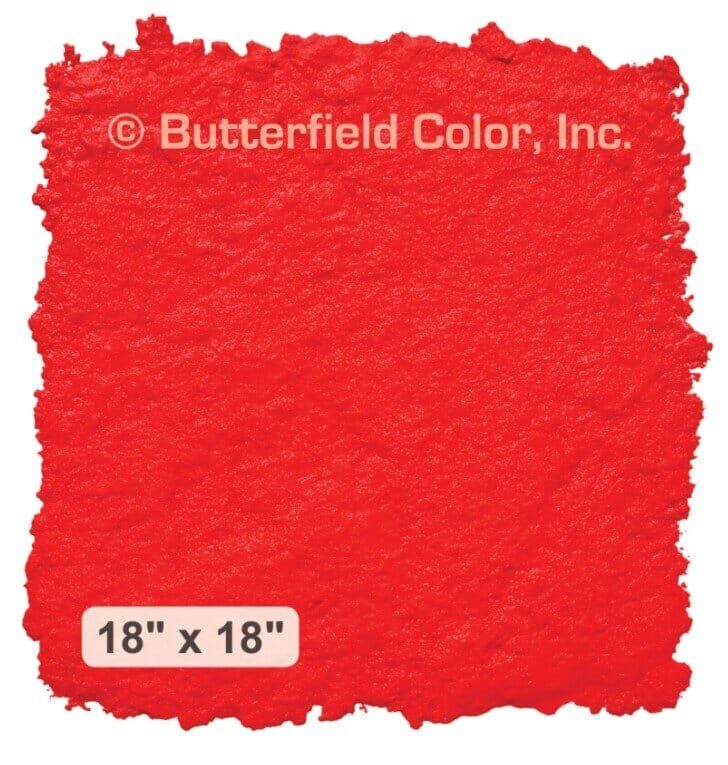
Concrete Pigment

When using a white portland, less pigment is required. This is generally mixed in the water prior to adding portland and sand. A little goes a long way! There are a variety of colors to chose from.
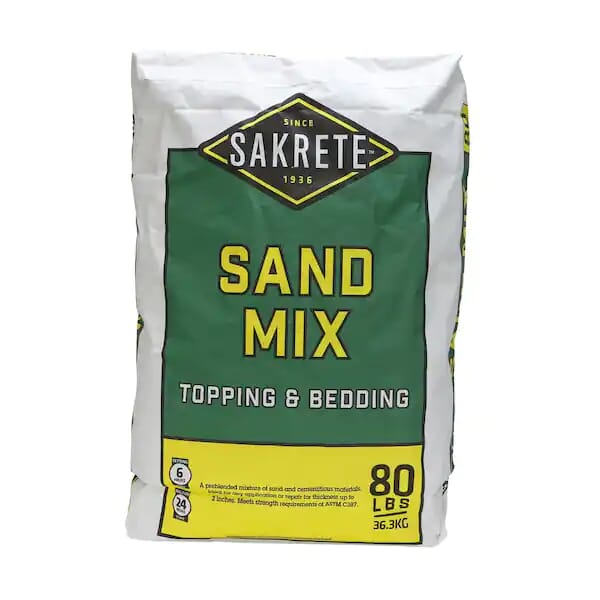
Sand

The finer the sand the better. Play sand is the most corse you would want to go as engraving can cause less-set or not fully-set concrete to chip.
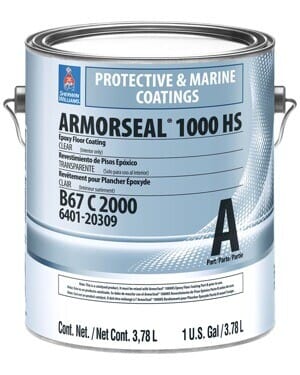
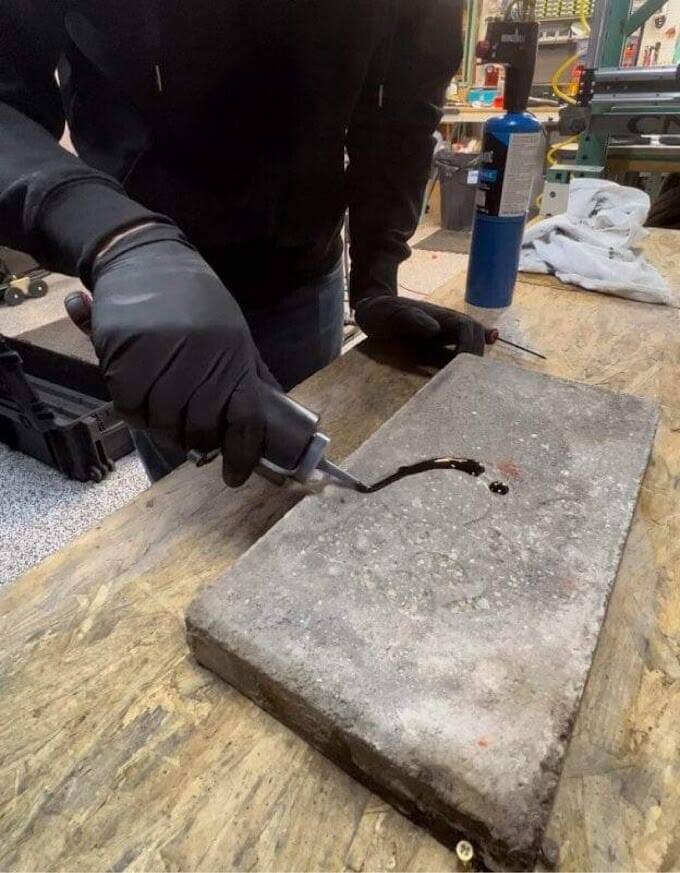
Armorseal 1000 HS

Two part 100% solid epoxy. May be mixed in smaller disposible container. DO NOT MIX THE ENTIRE BUCKET
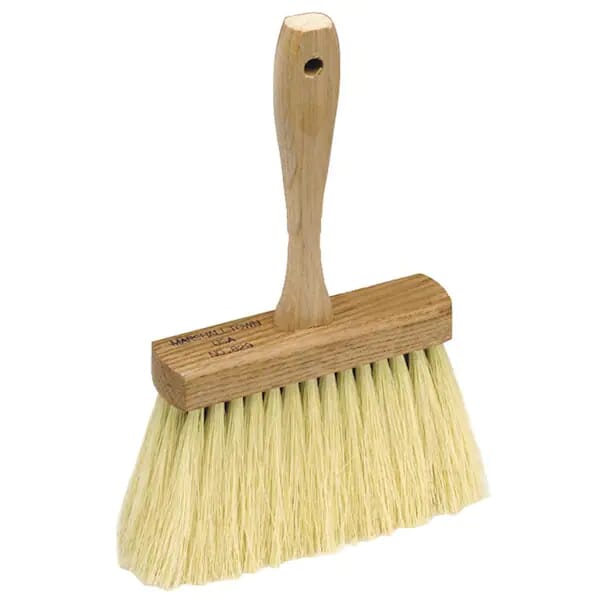
Texture Brush

Used when creating a nature surface on (not fully set) concrete surfaces.

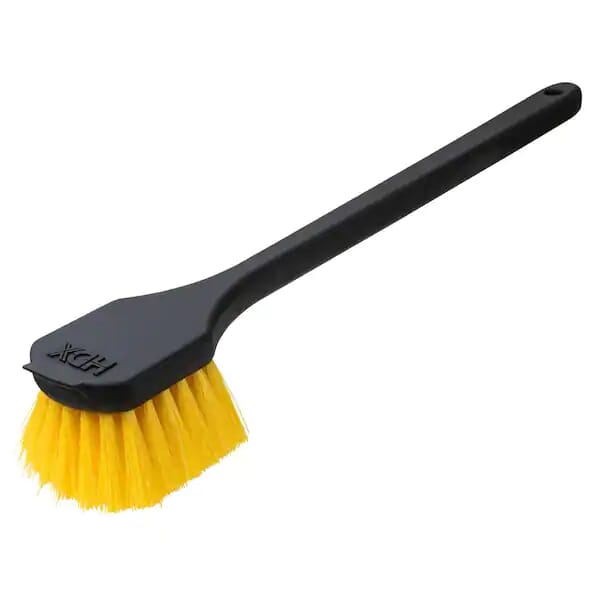
20 in. Gong Scrub Brush

Used to texture and remove excess concrete from mid-cured surface.

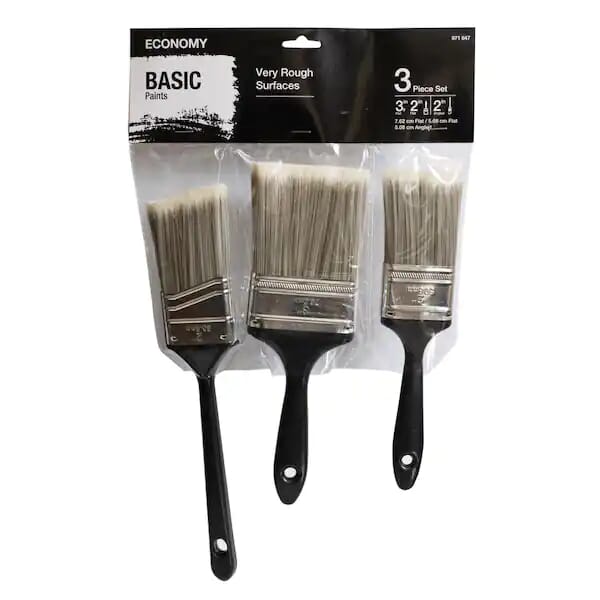
Texture Paint Brushes

Used when creating a nature surface on (not fully set) concrete surfaces.

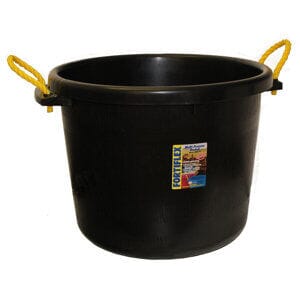
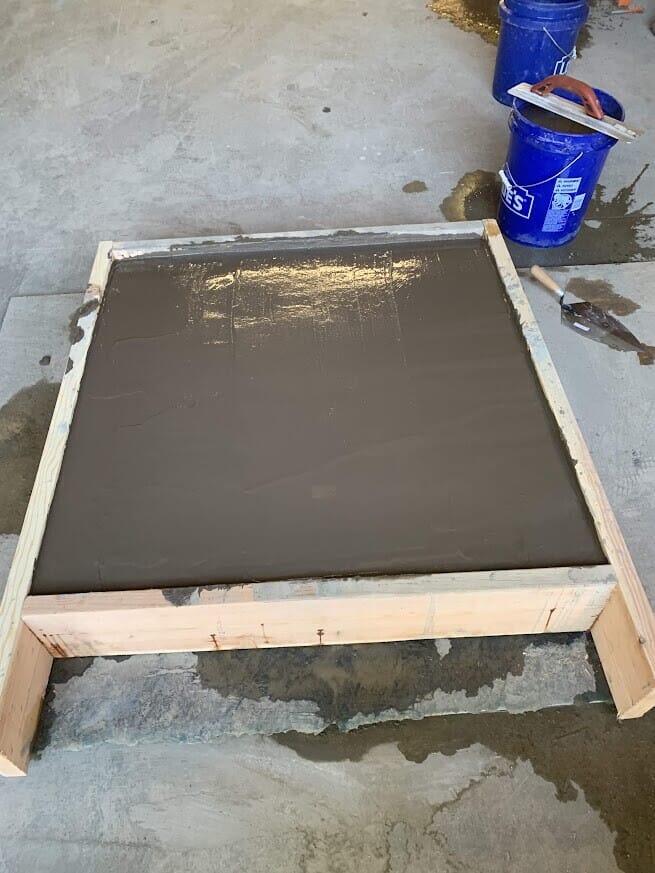
Heavy Duty Mixing Bucket

Add this to your bucket list. Tip: When mixing, do not overfill beyond what you can safely carry. We recommend using a piano dolly or similar to make moving easier.
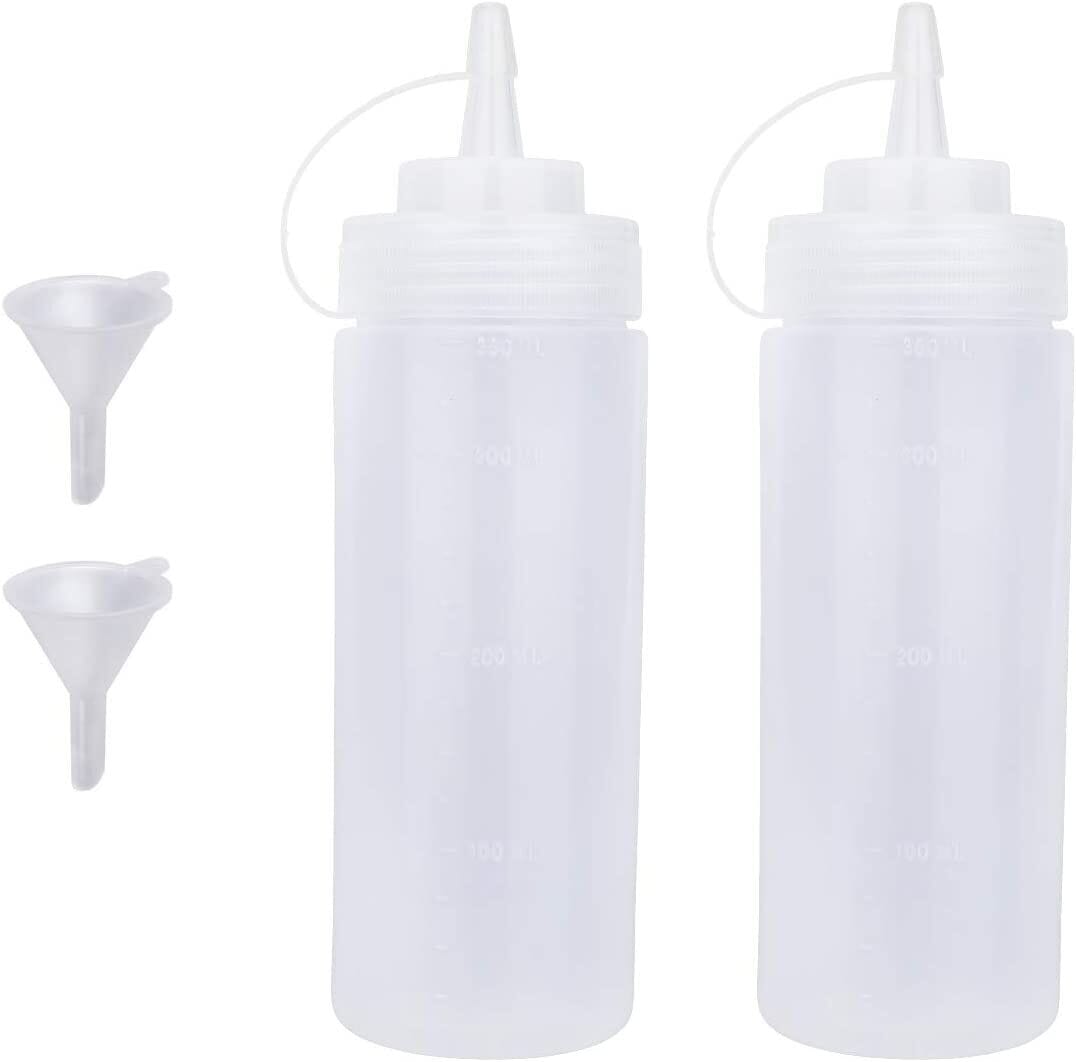
Squeeze Bottles

Used to apply epoxy, note that when epoxy mixes, it will produce some heat, it is recommended to handle this bottle with care when applying the epoxy.
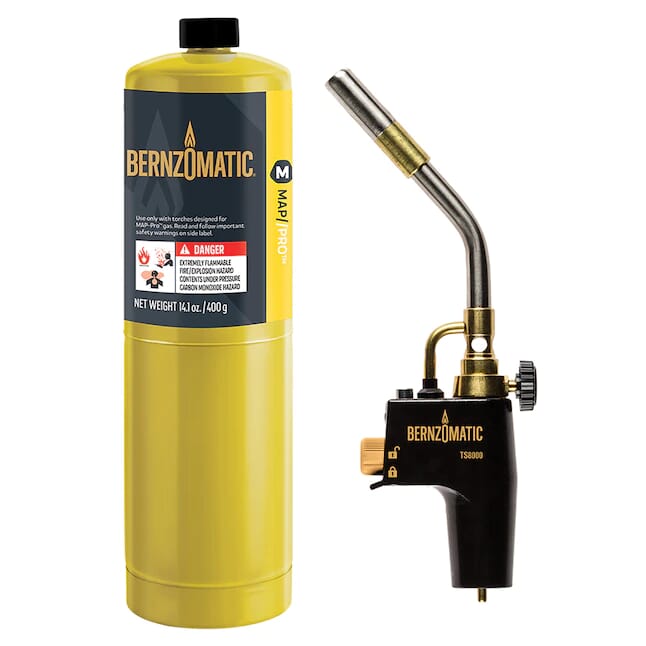
Handheld Toch

Used for removing bubbles while epoxy is setting due to gasses released from the concrete.

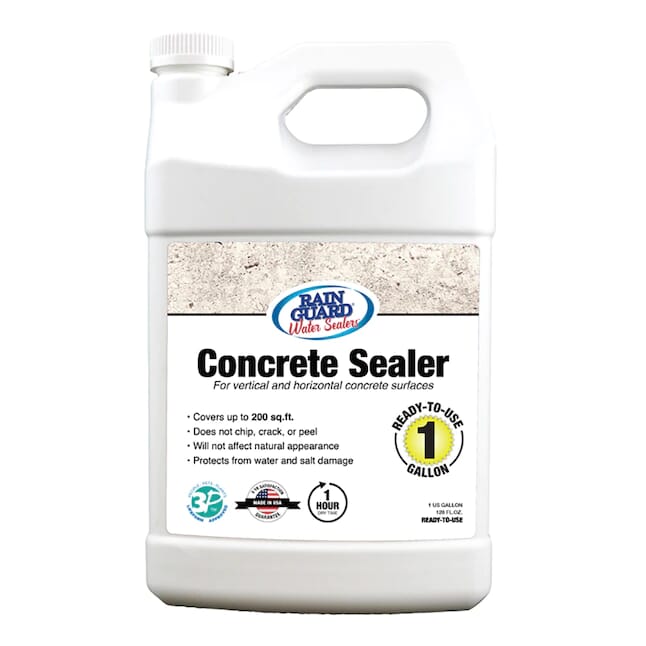
Water-based Concrete Sealer

The concrete should be sealed prior to applying epoxy. Closing the porous surface of the concrete prevents future cracking due to freezing and other weather related exposure.
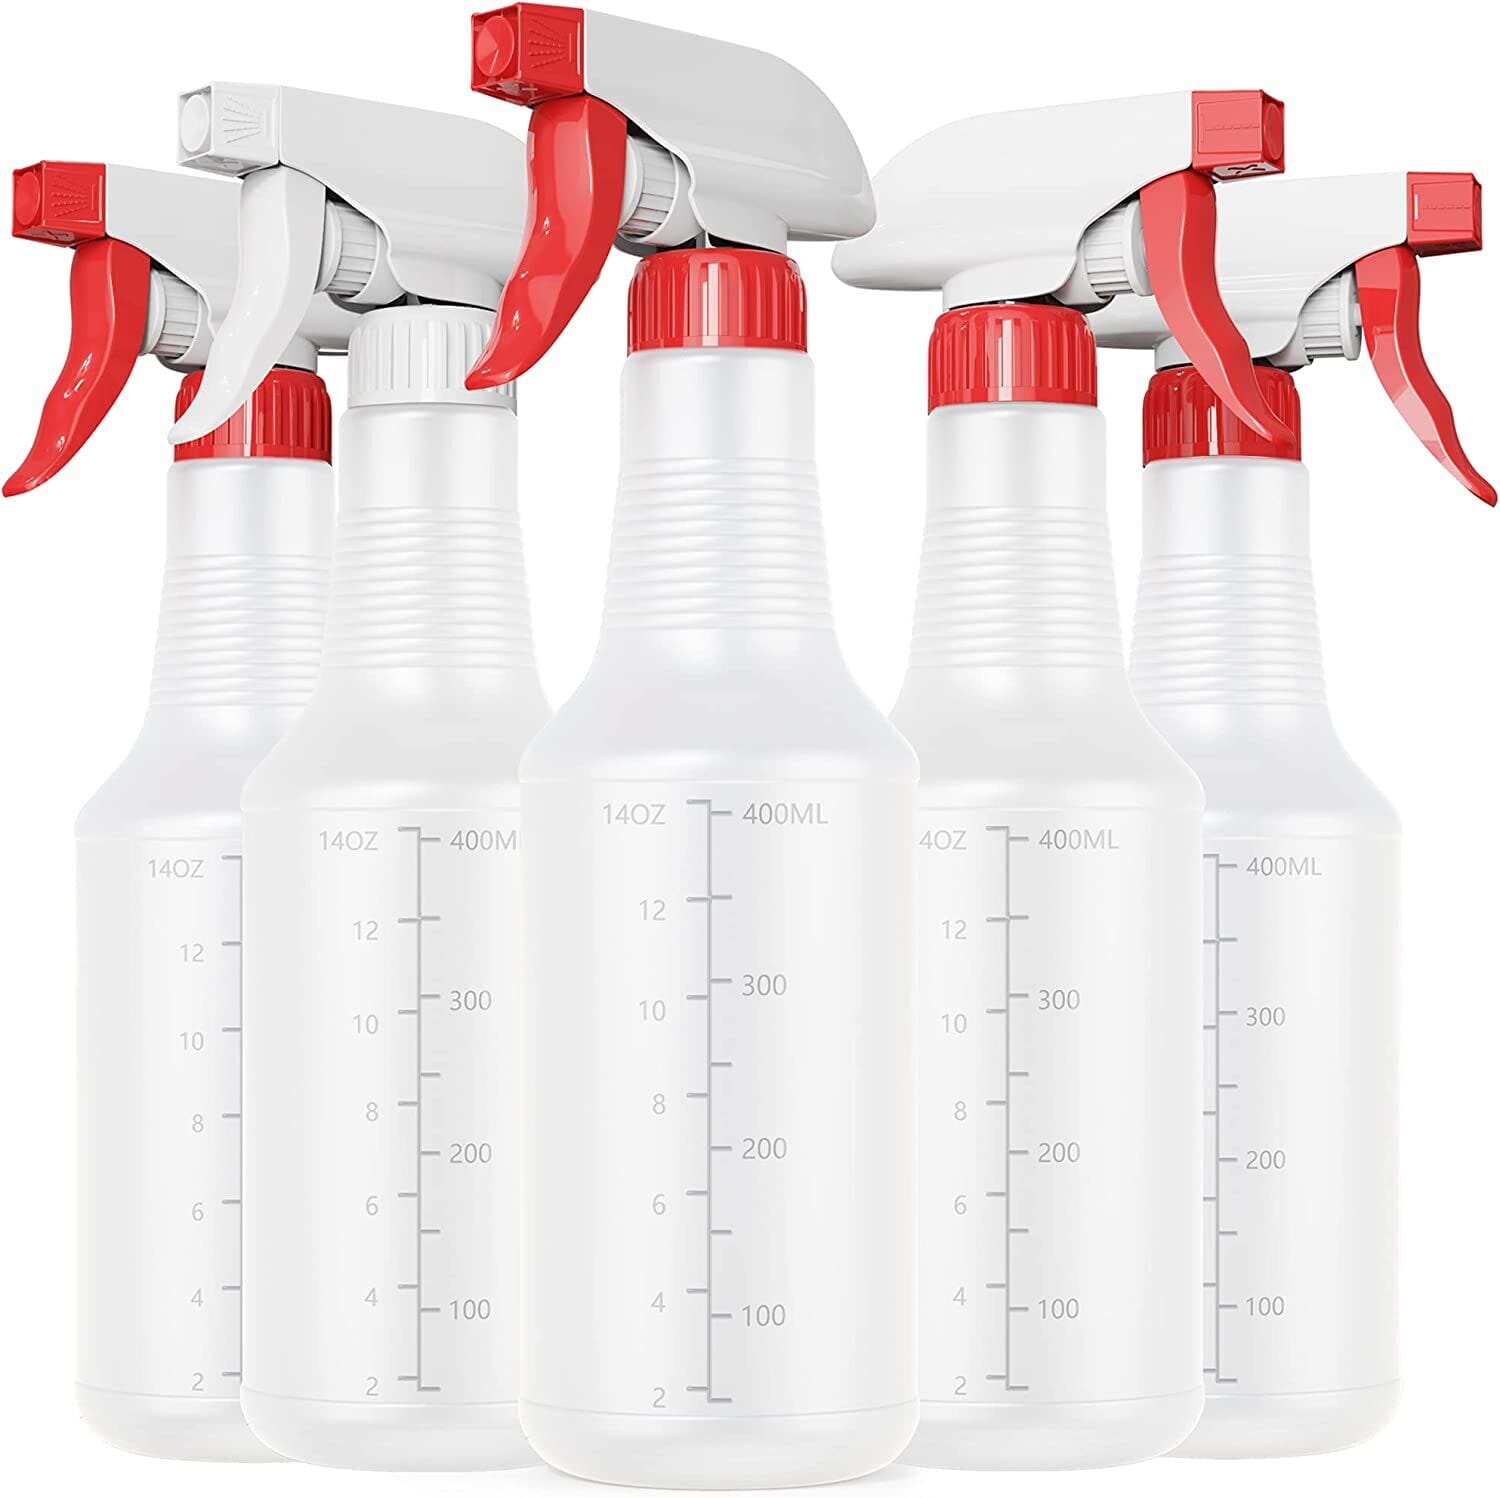
Spray Bottles

Used to apply pigment (prior to sealing). It is recommended to use only water-based paints/pigments. Pigments may be dilluted to accomplish desired color and texture-effect.

Water-based Paint

Earthy-toned red, green and blue bases when mixed, can create any color. No need to go expensive here, it is the pigment that is needed, not the sheen or quality, these are dilluted in water and sprayed onto the boulder surface.
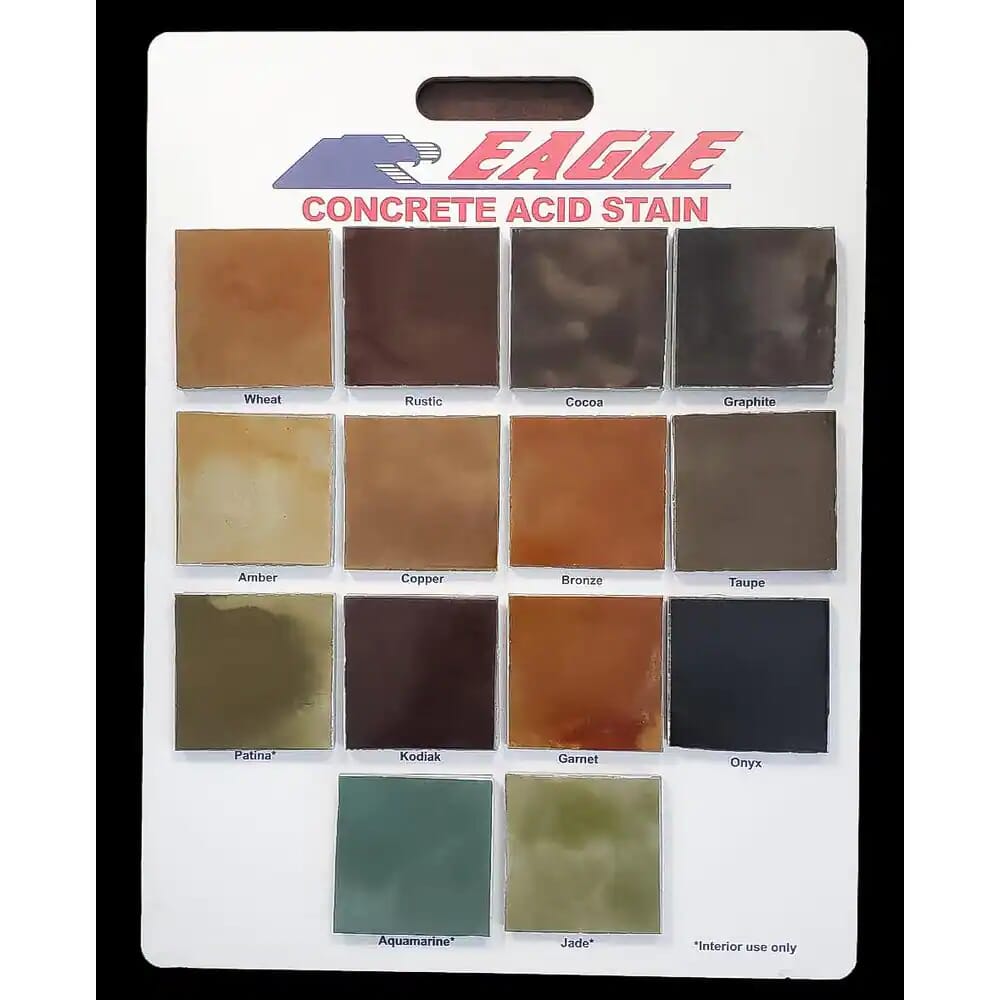
Concrete Stains

Acid concrete stains chemically bind to the pores of the concrete to provide a durable color finish. Remember to seal the surface after stain/paint is set.
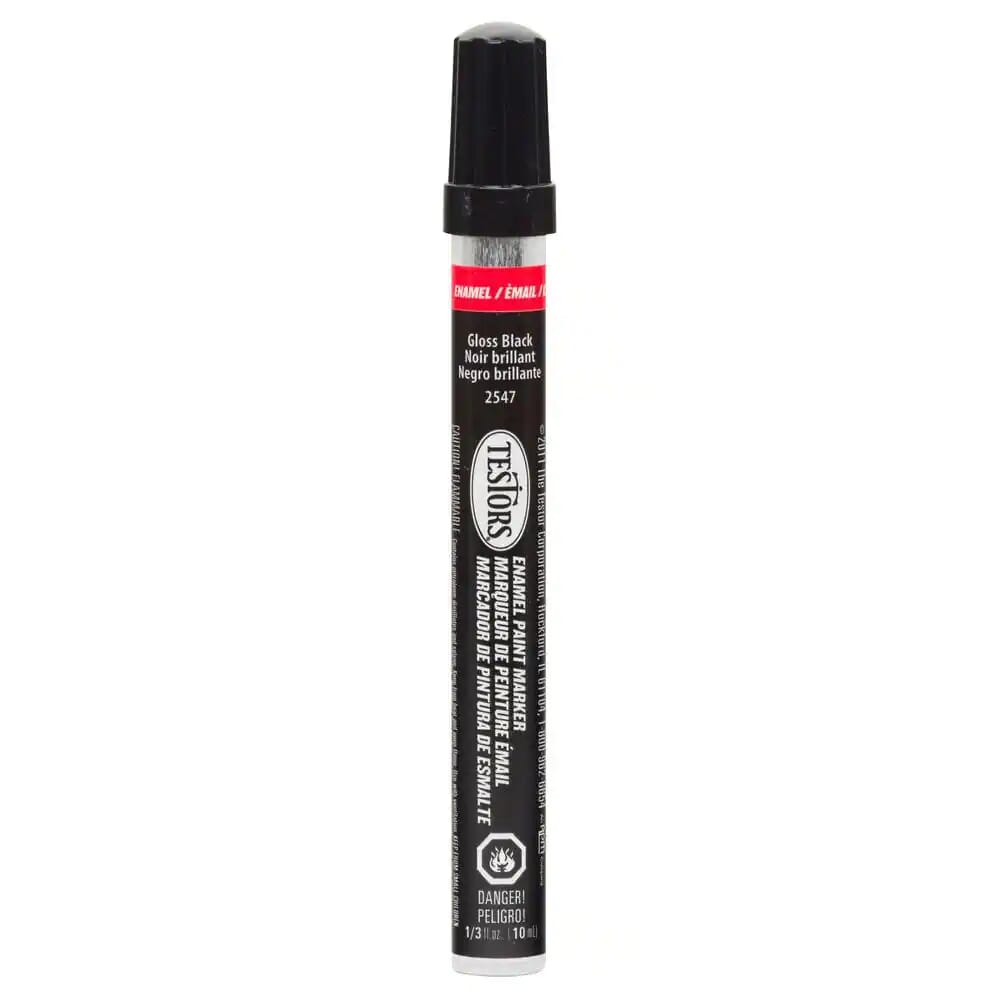
Paint Pens

Paint pens come in a variety of colors and metallic finishes. These are used to fill in smaller areas. Tip: The smoother the area the further the pigment will go. Remember to seal the entire project before delivery to customer.

Blast Mask

Used to reduce bleedover when engraving into porous concrete and stone surfaces

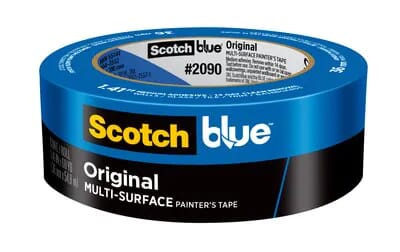
Scoth Blue Masking Tape

Like the Blask Mask tape, this is used to protect and reduce bleedover when painting or filling in epoxy inlays.
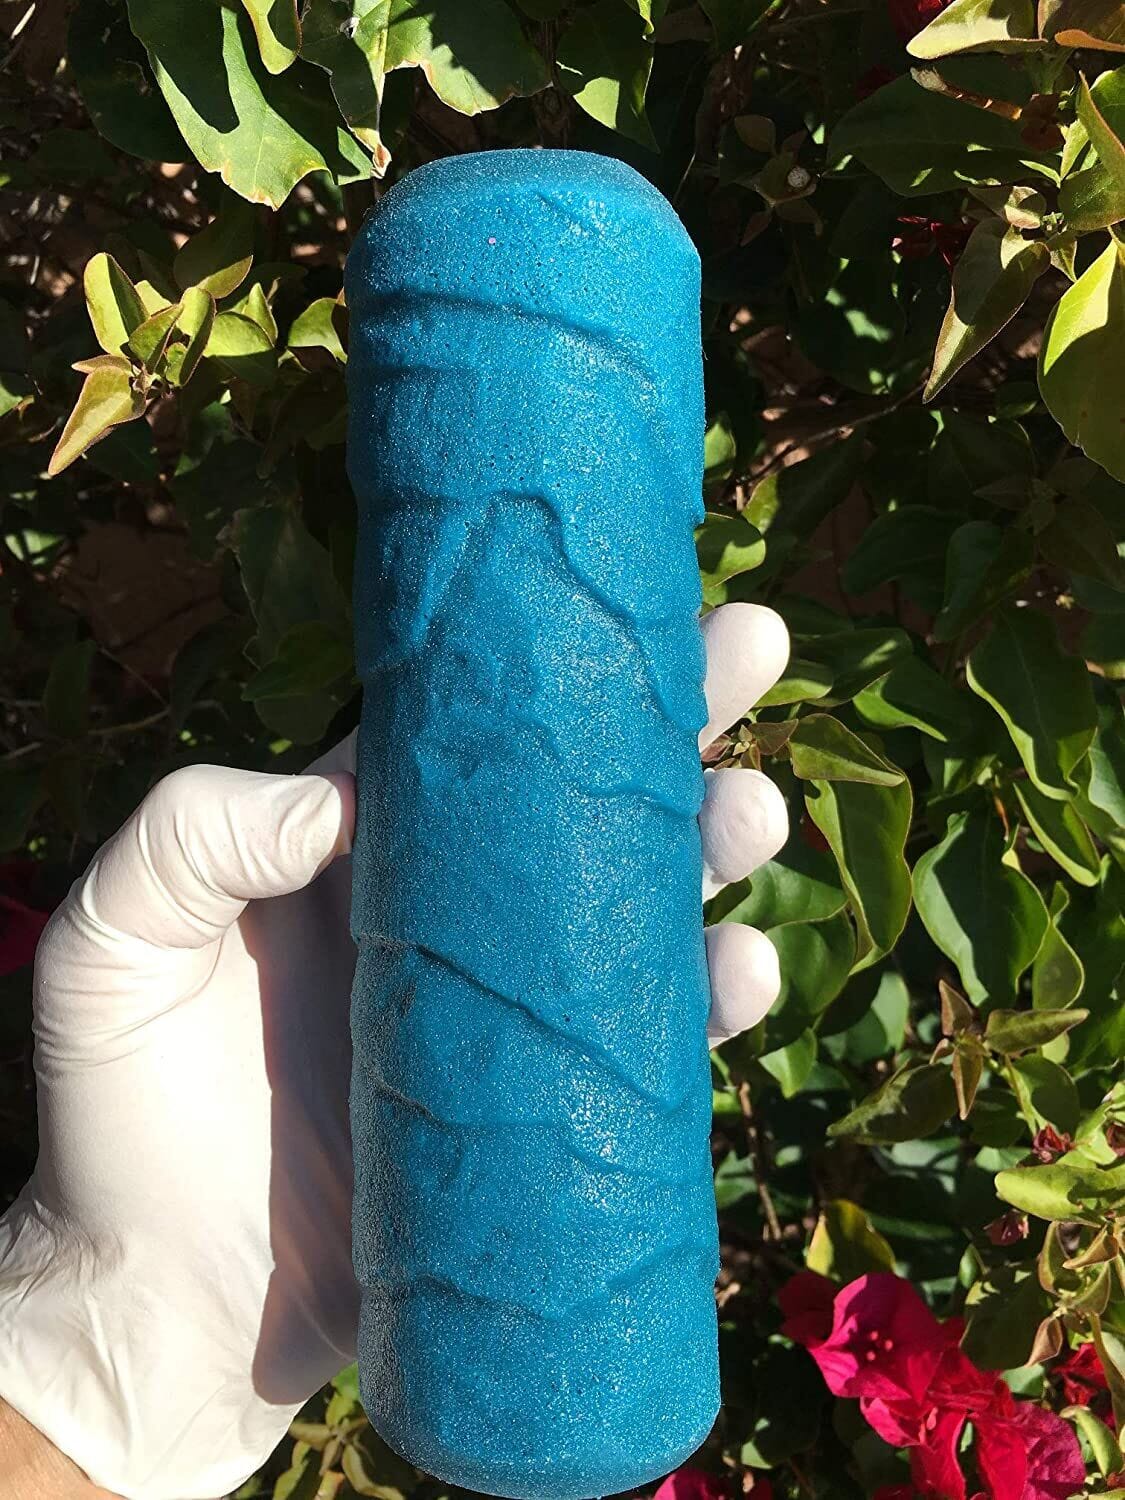
Texture Roller

WEATHERED FLAGSTONE CONCRETE TEXTURE ROLLER IS PERFECT FOR FORMING CONCRETE into BEAUTIFUL Concrete Floor Designs for Patios, Pool Decks, Driveways, AND BOULDERS

Note: The following link does not required a Google Account, you may view/download contents without an account

LET’S TALK BUSINESS